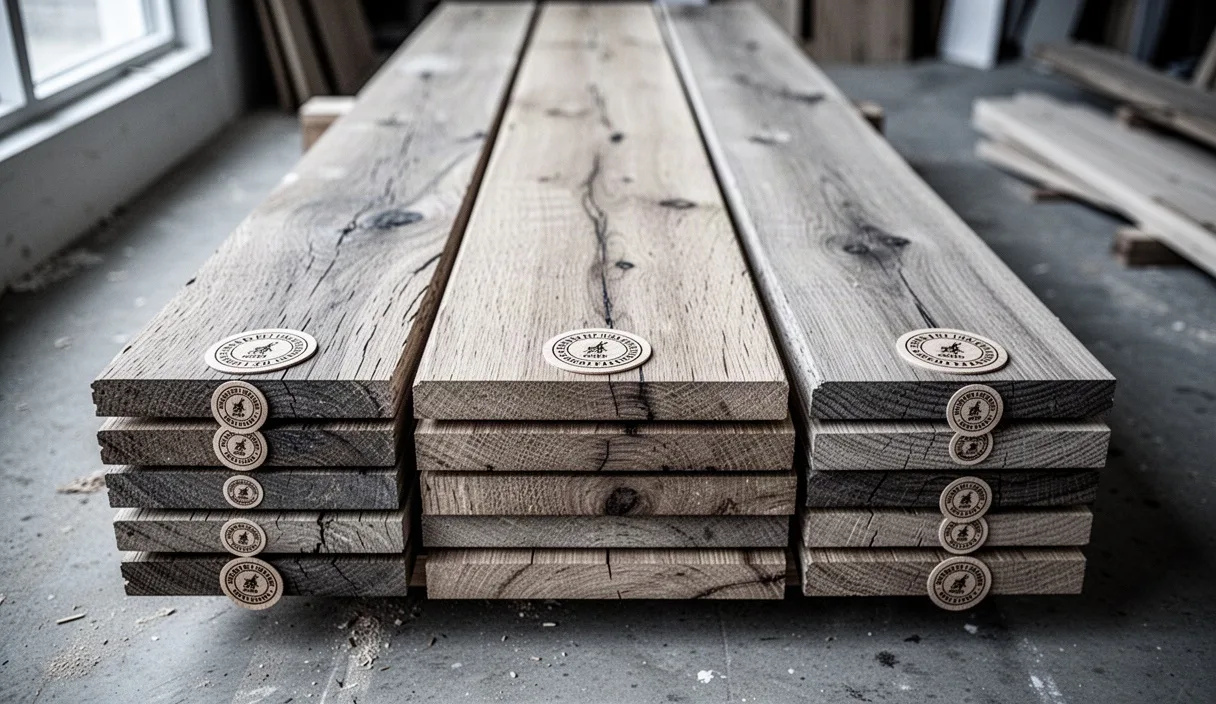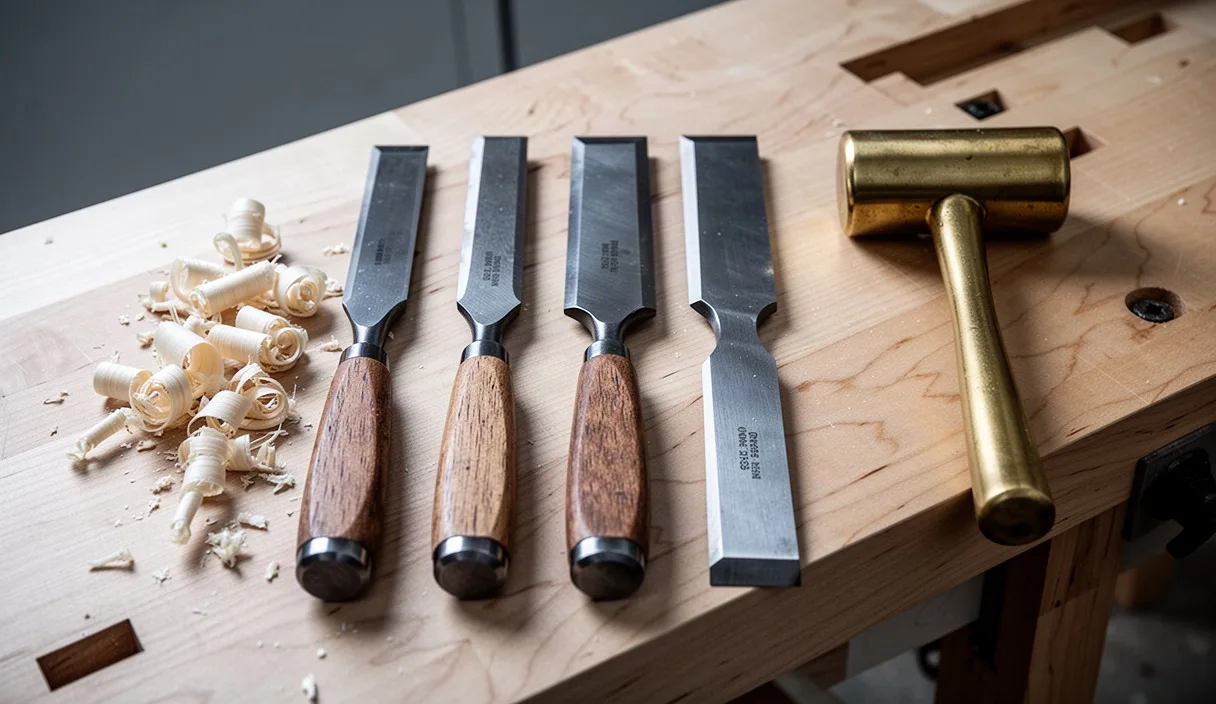
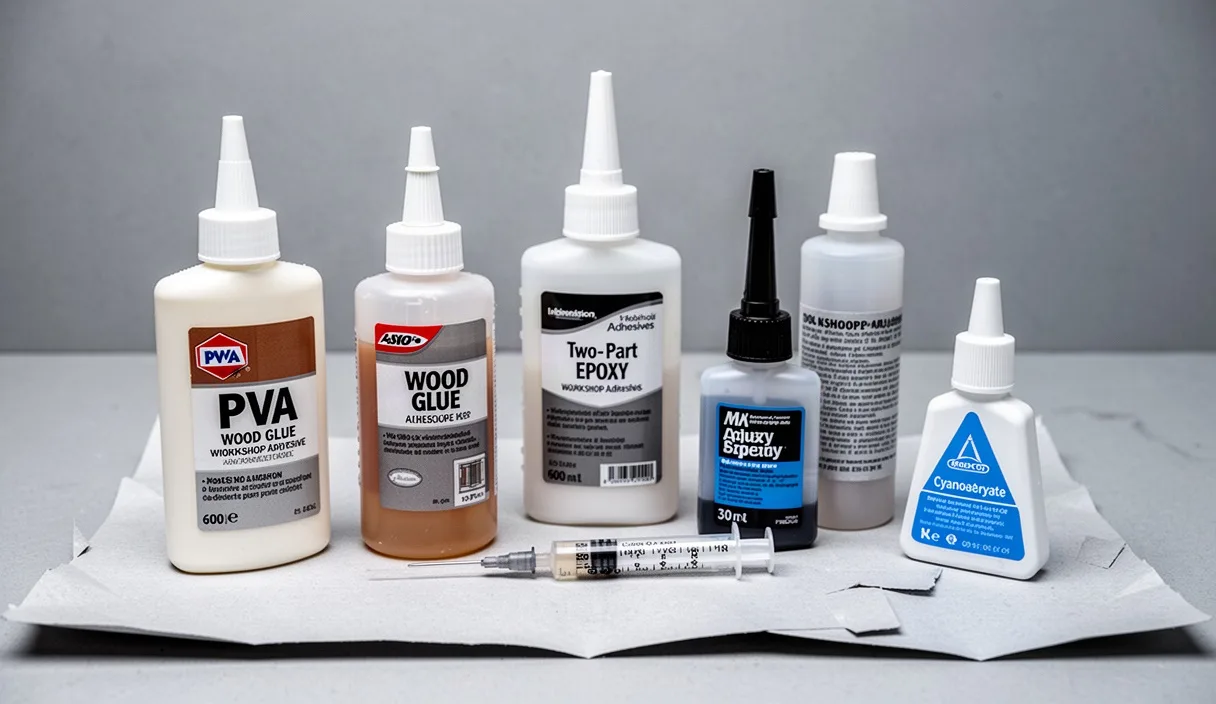

Walk into any hardware store, and you will face a wall of bottles, tubes, and cans. Some promise instant holds, while others claim to bond anything from oak to porcelain. It is tempting to grab whichever bottle is closest, but an adhesive failure on a finished project is frustrating and messy to clean up. Choosing the correct adhesive comes down to understanding what happens at the microscopic level where two surfaces meet.
Every material possesses a unique surface texture, porosity, and rate of thermal expansion. Porous materials like pine soak up liquids like a sponge, while dense materials like glass or polished brass push liquid away. When you match the working mechanism of the glue to the physical properties of the items you want to join, your bond will frequently outlast the materials themselves. This guide breaks down the science of adhesion so you can pick the right bottle every single time.
How Adhesives Grip: Mechanical versus Chemical Bonds
Why do two flat boards stick together when you put glue between them? The bond happens through one of two primary pathways: mechanical interlocking or chemical adhesion. In many everyday joints, a mix of both takes place, but one process always does the heavy lifting.
A mechanical bond works just like tiny roots growing into garden soil. If you look at wood, paper, or leather under a microscope, the surface is not flat. It is full of peaks, valleys, pores, and open fiber ends. Liquid glue flows into these voids before it support. As the carrier liquid evaporates or reacts, the glue hardens into a rigid solid. The dried glue acts as thousands of microscopic anchors trapped inside the pores. For this reason, porous materials with rough surfaces form exceptionally strong mechanical bonds, provided the liquid glue is thin enough to penetrate the grain before it skins over.
A chemical bond, by contrast, relies on forces that pull molecules together even when there are no pores to crawl into. Non-porous surfaces like acrylic, metal, and glass have smooth faces that mechanical adhesives cannot grasp. In these cases, the adhesive contains reactive compounds that either form covalent bonds, ionic bonds, or weaker hydrogen bonds directly with the atoms of the workpiece. Cyanoacrylate, commonly known as super glue, relies on trace moisture on the surface to trigger an anionic polymerization chain reaction that grabs smooth parts tightly.
| Bond Type | How It Works | Best Substrates | Example Adhesives |
|---|---|---|---|
| Mechanical Interlocking | Liquid enters open pores and solidifies into physical anchors. | End-grain wood, leather, unglazed ceramic, cardboard | Polyvinyl acetate (PVA), hide glue, liquid polyurethane |
| Chemical Adhesion | Molecules in the glue attract or crosslink with surface atoms. | Aluminum, glass, hard plastics, oily hardwoods | Two-part epoxy, cyanoacrylate, structural acrylics |
What happens if you try to form a purely mechanical bond on a smooth surface? The dried glue forms a flat sheet that easily peels away, like dried white school glue pulled from a glass window. To fix this, woodworkers and metalworkers scuff smooth surfaces with 80-grit or 120-grit sandpaper. Scuffing creates artificial scratch patterns, turning a chemical-dependent joint into one that also allows mechanical interlocking.
PVA Wood Glues: Type I, II, and III Differences
Polyvinyl acetate, universally abbreviated as PVA, is the workhorse of indoor carpentry. It is nontoxic, cleans up with warm water before it support, and dries into a tough plastic film. However, you will see bottles labeled Type I, Type II, or Type III on the shelf. These designations are defined by standard industrial laboratory tests, specifically ASTM D4317, which measure how well the glue line survives soaking in water and exposure to heat.
Standard white glue is the basic version, often called Type III by craftsmen even when uncertified. It offers zero water resistance. If you build a bookshelf using basic PVA and place it in a damp basement, the moisture in the air softens the polymer chains over time. The joints may creep, meaning the wood slowly shifts out of alignment under sustained weight. Standard PVA is best reserved for picture frames, indoor cabinetry, and small craft assemblies that will always live in climate-controlled rooms.
Type II PVA contains cross-linking agents that react as the water leaves the glue line. It offers water resistance, meaning it can survive occasional dampness, outdoor humidity, or water spills that get wiped up quickly. It is the standard choice for cutting boards, kitchen tables, and porch furniture that stays under an awning. If you wash a cutting board built with Type II glue under running water, the joints will hold, though submerging the board in a sink for an hour will still damage it.
Type I PVA is the most durable tier available for woodworkers. To pass Type I testing, glued samples must endure several hours of boiling water, followed by prolonged oven drying at 145 degrees Fahrenheit, without delaminating. This adhesive is genuinely waterproof, making it the proper pick for cedar planters, boat trim, garden gates, and outdoor dining tables. Keep in mind that open assembly time, the window of time you have to align your parts before the glue begins to tack, drops slightly with waterproof formulas, typically sitting between 5 and 10 minutes at 70 degrees Fahrenheit.
When to Pick Two-Part Epoxy for Uneven Gaps
What should you do when two parts do not fit flush together? Standard PVA requires direct wood-to-wood contact. If your joint has a gap wider than a sheet of paper, PVA will dry into a shriveled, brittle layer full of tiny air bubbles because it loses volume as its water evaporates. It has zero structural gap-filling capacity. When precision joinery is impossible, or when you are repairing a cracked furniture leg where fibers tore away, two-part epoxy is the correct tool.
Epoxy does not dry through evaporation. Instead, it support via an exothermic chemical reaction between an epoxide resin and a polyamine hardener. Because no solvent leaves the mixture, cured epoxy maintains roughly 98% of its liquid volume. It fills pockets, gaps, and gouges without shrinking, creating a solid, synthetic bridge between uneven parts. Furthermore, epoxy sticks aggressively to stone, metal, carbon fiber, and oily exotic woods like teak or rosewood that shed water-based glues.
Selecting the right formulation requires looking at the cure time and the viscosity:
- Five-Minute Epoxy: Best for rapid, light-duty repairs where holding clamps by hand is necessary. It support quickly, but it remains somewhat flexible and has lower shear strength over long periods.
- Thirty-Minute to One-Hour Epoxy: Offers a longer open time to adjust complex assemblies. It support harder than fast-setting versions and handles structural loads much better.
- Thickened or Paste Epoxy: Contains fillers like colloidal silica or microballoons. It will not sag or run out of vertical joints while curing, making it ideal for overhead timber repairs or wall-mounted brackets.
To use epoxy successfully on rough gaps, prepare the site by blowing out dust and wiping non-wood surfaces with isopropyl alcohol. Dispense equal parts by weight or volume according to the manufacturer instructions. Stir the two components together with a flat-bottomed stick for at least 90 seconds until the mix turns uniform. Pack the mixed resin fully into the void, ensuring you leave a small mound higher than the surrounding material. Once it support hard after 12 to 24 hours, you can chisel, scrape, sand, and drill the epoxy just like natural timber.
Contact Cement for Large Leather and Laminate Sheets
Imagine trying to clamp a four-foot by eight-foot sheet of plastic laminate onto a kitchen counter core while standard glue dries. You would need dozens of clamps and massive cauls across the entire center of the sheet, which is nearly impossible in an average workshop. This is where contact cement proves indispensable.
Contact cement works on a dry-tack principle. You apply a smooth, thin coat to both mating surfaces and leave them completely apart while the solvent flashes off into the air. This wait time usually lasts between 15 and 30 minutes, depending on workshop temperature and airflow. How do you know when it is ready? Touch the coated surface with a clean knuckle. If the film feels tacky but leaves no wet residue on your skin, it is ready to join. When the two dry layers touch each other, they bond instantly and permanently upon contact without requiring sustained clamping pressure.
This adhesive comes in solvent-based (flammable, high odor, fast drying) and water-based (non-flammable, mild odor, slower drying) formulations. Both types create flexible bonds that allow materials with different expansion rates, like cowhide leather bonded to dense cardboard, or Formica bonded to particleboard, to move without shearing the joint. Because you only get one chance to align the pieces, experienced fabricators use clean wooden dowels or laminate slats as spacers:
- Apply an even coat of cement to both surfaces using a short-nap roller or notched spreader.
- Wait 20 minutes until the glossy wet look disappears and the glue is dry to the touch.
- Lay dry wooden dowels across the base surface every 10 inches to act as temporary spacers.
- Place the top sheet over the dowels, aligning the edges perfectly while the parts remain separated by the wood.
- Slide the center dowel out, press the sheet down in the middle, and work your way outward, removing dowels one by one.
- Run a weighted J-roller over the entire surface, applying heavy hand pressure to force out air pockets and set the bond.
Clamping Pressure: How Much Squeeze-Out is Right
A widespread assumption among beginners is that tighter clamping always produces a stronger joint. This is not true. Clamping serves two specific functions: it closes the gap so surfaces touch, and it holds the assembly motionless while the adhesive solidifies. If you apply excessive force with heavy steel clamps, you risk starving the joint, which means you push all the liquid adhesive out of the interface before it can soak into the wood fibers.
For PVA glues on flat, square-edged lumber, the ideal clamping pressure ranges from 100 to 150 pounds per square inch for softwoods like pine, and 175 to 250 pounds per square inch for dense hardwoods like hard maple or oak. Achieving this does not require turning an F-clamp handle with a pipe wrench. Snug hand pressure on standard mechanical clamps is usually sufficient. For epoxy, clamping pressure should be light, roughly 10 to 25 pounds per square inch, just enough to keep the parts from shifting, because the epoxy requires a physical film thickness of 0.002 to 0.005 inches inside the joint to reach maximum strength.
How can you tell if your pressure and glue spread are correct without complex pressure gauges? Watch the squeeze-out at the joint line. A continuous bead of tiny, uniform droplets appearing along the entire length of the seam indicates that the surface had full coverage and the clamp pressure is balanced.
| Squeeze-Out Appearance | Diagnosis | Correction Required |
|---|---|---|
| No liquid visible along seam | Starved joint or dry assembly | Use more glue; join parts faster before adhesive skins over. |
| Heavy runs dripping onto bench | Excessive glue volume applied | Apply thinner coats; reduce clean-up time and wasted material. |
| Small, continuous bead of dots | Proper application and clamp force | Maintain current technique; scrape off after 30 minutes. |
Cleaning up PVA squeeze-out requires careful timing. If you wipe a wet bead immediately with a wet rag, you risk thinning the glue and driving it deep into the open pores of adjacent face grain. This hidden glue repels wood stains, resulting in pale, blotchy spots during finishing. Instead, let the squeeze-out sit for 25 to 35 minutes until it turns rubbery and skin forms over the drops. Then, pry the rubbery bead off in one clean strip using a sharp card scraper or a narrow chisel held flat against the wood.
Common Mistakes to Avoid
Even seasoned builders occasionally run into joint failures due to simple shop oversights. Avoiding these frequent traps will save hours of repair work:
- Gluing cold wood in a winter shop: Most PVA adhesives have a minimum use temperature of 50 to 55 degrees Fahrenheit. Below this threshold, known as the chalk temperature, the polymer molecules cannot fuse together. The glue dries into a white, crumbly powder that holds no weight.
- Trusting end-grain butt joints: End grain behaves like a bundle of drinking straws. It draws liquid glue upward into the wood via capillary action, draining the joint dry before it support. End grain must always be joined with mechanical reinforcement such as dowels, mortise-and-tenon joints, or biscuited splines.
- Sanding with excessively fine grits: Smoothing a joint face with 320-grit or 400-grit paper polishes the surface and burns the fibers, closing off pores. Stop at 120-grit or 150-grit along joint faces to ensure the glue has tooth to grab onto.
- Using expired glue: PVA glue has an average shelf life of two years. If your bottle has turned stringy, smells sour, or separates into water and dense sludge that will not blend back together, discard it.
Practical Next Steps for Your Project
Before spreading glue on a finished project, follow a simple pre-flight routine. First, conduct a complete dry run. Clamp your entire project together without a single drop of glue on the wood. This reveals misaligned joints, twisted boards, or missing clamps while you still have unlimited time to fix them.
Next, lay out all your tools on your bench within arm reach: your glue container, a silicone roller or acid brush for spreading, damp rags for your fingers, and your clamps adjusted close to their final opening width. Once glue hits the wood, you are racing against the open assembly clock. By taking five minutes to prepare your clamps, check the ambient room temperature, and match the adhesive chemistry to your material, you ensure your project stays solid for decades to come.