
You select a flat, straight board from the lumber rack, plane it down to your project dimensions, and leave it on your workbench overnight. The next morning, you run your fingers across the face, only to find the wood rocking against the benchtop like a rocking chair. It is natural to feel frustrated when a square piece of timber curls on its own, but wood is not a static building block like steel or plastic. It remains an active botanical material that continuously responds to the climate of your workshop.
Why does this movement happen even after lumber has been processed in a drying kiln? The answer comes down to how trees grow, how cell walls store water, and how atmospheric changes pull that water back into the air. Understanding the physics behind these shifts takes the mystery out of timber movement. Once you know how moisture travels through cell walls, you can predict how a board will react, use gentle workshop techniques to correct curved stock, and build furniture that stays stable over decades of seasonal changes.
Understanding Wood as a Bundle of Straws
To grasp why lumber bends, it helps to picture a tree trunk as a massive, tightly packed bundle of drinking straws glued together. In a living tree, these hollow tubes, known scientifically as tracheids in softwoods and vessels in hardwoods, draw water and dissolved minerals from the root system up into the canopy. When the tree is felled and milled into boards, these hollow tubes remain intact. Even when dried, they retain their physical structure and continue to act like microscopic channels that drink in or release ambient humidity.
Water exists in lumber in two distinct forms: free water and bound water. Free water fills the open hollow space inside the straws, much like liquid left in a drinking glass. Bound water, on the other hand, saturates the actual cell walls of the straws, chemically bonding to the cellulose molecules. When green lumber dries, the free water evaporates first. Wood does not change its physical dimensions during this initial phase. Shrinkage begins only when the wood drops past the fiber saturation point, which usually occurs around 28 percent moisture content. At this mark, the cell walls themselves begin to dry out, causing each individual tube to pull inward and decrease in diameter.
Crucially, these straws shrink unequally in different directions. Along the length of the straw (longitudinally), shrinkage is practically zero, usually measuring less than 0.2 percent from green to bone dry. Across the growth rings (radially), wood shrinks at a modest rate, often between 3 percent and 5 percent. Along the direction of the growth rings (tangentially), shrinkage is the most dramatic, frequently reaching 7 percent to 10 percent. Because the rings curve through a log, different parts of a flat-sawn board dry and shrink at different speeds, creating internal mechanical tension that forces the wood to twist or bend.
The Four Main Types of Lumber Distortion
When internal stresses overpower the stiffness of the fibers, the board alters its shape. Woodworkers classify these distortions into four primary categories based on the axis along which the board deforms: cup, bow, crook, and twist. Identifying which type of distortion has occurred tells you which face or edge lost moisture faster than its counterpart.
Cupping occurs across the width of the board, turning a flat face into a shallow trough. This is by far the most common defect in flat-sawn lumber. Because the bark-facing side of the growth rings contains more tangential grain than the heart-facing side, the outer face shrinks more than the inner face, pulling the edges upward. Bowing, by contrast, occurs along the length of the board on its wider face, creating a shape reminiscent of an archer's bow. Crook, sometimes called warp or crown, also happens along the length, but it bends along the narrow edge of the board rather than the flat face.
Twisting is the most challenging distortion to correct. In a twisted board, the four corners no longer lie in a single flat plane; diagonally opposite corners turn in opposite directions. This happens when the grain inside the tree grew in a spiral pattern around the trunk, or when different quadrants of the board dry at severely uneven rates.
| Defect Type | Axis of Distortion | Visual Appearance | Primary Cause |
|---|---|---|---|
| Cup | Across the board width | Edges lift while the center stays low | Unequal tangential shrinkage across growth rings |
| Bow | Along the board length (face) | Center of the wide face lifts off the bench | Longitudinal tension wood or uneven face drying |
| Crook | Along the board length (edge) | Narrow edge forms an irregular curve | Grain runout or uneven edge moisture loss |
| Twist | Across opposing diagonal corners | Board rocks corner-to-corner; wind in the grain | Spiral grain growth or extreme differential drying |
Testing Board Moisture with a Pin Meter
Before you attempt to straighten any board, you must know how much water it holds. If you try to force a board flat while its core remains damp, the wood will simply return to its warped shape as soon as you release the clamps. A pin-type moisture meter is the most reliable workshop tool for this task because it measures electrical resistance between two steel probes driven directly into the wood grain. Water conducts electricity far better than dry cellulose, so higher conductivity equates to higher moisture content.
How do you use a pin meter properly without getting a false reading? Take readings at three points: both ends of the board and directly in the middle. Clean, bare wood is required; finishes or surface waxes will distort the electrical signal. Align the pins parallel to the grain lines rather than across them, because electrical current travels through wood fibers along the length of the cells with less resistance. Push the pins into the surface until they penetrate roughly one-third into the thickness of the board. This depth gives you a true reading of the core moisture rather than just the surface skin, which is often drier or wetter than the interior.
- Target indoor equilibrium: For interior furniture, lumber should read between 7 percent and 9 percent moisture content before joinery begins.
- Acceptable outdoor threshold: For exterior gates, garden benches, or porch trim, timber should sit between 12 percent and 15 percent.
- Gradient check: Test the core versus the surface. If the core reads 13 percent while the surface reads 8 percent, the board will almost certainly move further as the interior finishes drying. Let it rest in your shop for two weeks on stickers before cutting.
Applying Moisture and Weight to Cup Surfaces
When a wide board develops a cup, it does so because the convex side has absorbed more moisture, or the concave side has lost more moisture. Can you reverse this process without running the board through a thickness planer and sacrificing wood thickness? Yes. You can balance the wood by deliberately reintroducing moisture to the dry, concave side while keeping the convex side warm and dry, using physical weight to hold the fibers flat as they adapt.
This method works best on solid hardwood boards between 3/4 inch and 6/4 inch in thickness that have cupped by less than 1/4 inch across their width. It relies on the principle of plasticization: wood fibers become flexible when exposed to mild heat and moisture, allowing them to relax under clamping pressure.
- Prepare the concave face: Lay the board on a flat, clean surface with the hollow, concave side facing upward. Lightly mist the surface with clean tap water from a spray bottle, or lay a damp cotton towel across the face. Do not soak the wood until water puddles; aim for an even, damp sheen across the cupped area.
- Apply mild warmth to the opposite face: If possible, let sunlight strike the convex bottom side, or place a workshop heat lamp about 18 inches away from the convex side. The goal is to encourage the convex side to release moisture while the concave side drinks water in. The dry cells will expand as they take in water, pushing the edges back downward.
- Weight the assembly: Place the board on a flat workbench with two thin stickers (strips of wood 1/2 inch thick) under the raised edges. Lay a flat, stiff piece of 3/4-inch plywood across the top face. Place heavy workshop weights, such as cinder blocks, iron hand planes, or steel dumbbells totaling at least 40 pounds, directly over the center of the board.
- Monitor every four hours: Check the board periodically. You must not leave the weights on indefinitely. Once the board returns to flat, remove the wet towels and allow air to circulate around all sides. If you leave it weighted while wet for too long, the board will reverse its curve and cup in the opposite direction.
Preventing Future Warping During Finish Application
Once you bring a board to a true, flat state, the next task is keeping it that way. One of the most frequent reasons finished projects warp weeks after delivery is uneven surface finishing. If a woodworker builds a tabletop, sands the top face to perfection, and applies four coats of polyurethane to the top while leaving the underside bare or lightly sealed with a single wipe, moisture will enter and exit through the bottom face far more rapidly than through the top. Within one humid week, that tabletop will cup severely.
Think of finishing as applying an evaporation barrier across all faces of the timber. Finishes do not stop moisture exchange completely, but they slow it down significantly. If both sides of a board absorb and release moisture at identical rates, the board swells and shrinks symmetrically, maintaining its flat profile.
Always apply an equal number of coats to all surfaces of your project, including the hidden faces. If the top of a desktop receives three coats of hardwax oil, Danish oil, or varnish, the underside must receive three coats as well. Pay particular attention to the end grain. Because the end grain exposes the open ends of the bundle of straws, it absorbs and sheds liquid moisture up to twelve times faster than the face grain. Seal all cut ends with an extra coat of finish or a dedicated sanding sealer before final assembly.
Finally, ensure your furniture designs allow for mechanical movement. Fastening a wide solid wood top directly to a rigid apron with drywall screws prevents the wood from naturally expanding across its width. Under summer humidity, the trapped fibers have nowhere to go, forcing the entire panel to buckle or crack along the glue lines. Always use slotted screw holes, figure-eight fasteners, or wooden tabletop buttons (Z-clips) that permit the wood to slide laterally across its mounting points as seasonal humidity shifts.
Common Mistakes When Flattening Boards
Many woodworkers rush the flattening process or apply excessive force, which often damages the wood or creates hidden structural weaknesses. Keeping these common missteps in mind will save you time and preserve your material:
- Relying entirely on jointing and planing: If an 8/4 board is cupped by 3/8 inch, running it straight through a jointer will flatten it, but you will remove so much material that the board ends up under 1-1/4 inches thick. Correcting the cup with moisture and weights first preserves valuable board thickness.
- Applying direct, extreme heat: Using a high-temperature heat gun or a clothes iron without a protective damp cloth will scorch the wood grain, melt natural resins in pine or cherry, and cause rapid surface checking (microscopic cracks in the cell walls).
- Skipping acclimatization: Bringing cold lumber directly from an unheated shed into a warm, dry house and immediately milling it will cause severe warping within 24 hours. Lumber requires at least five to seven days to adjust to indoor temperature and humidity.
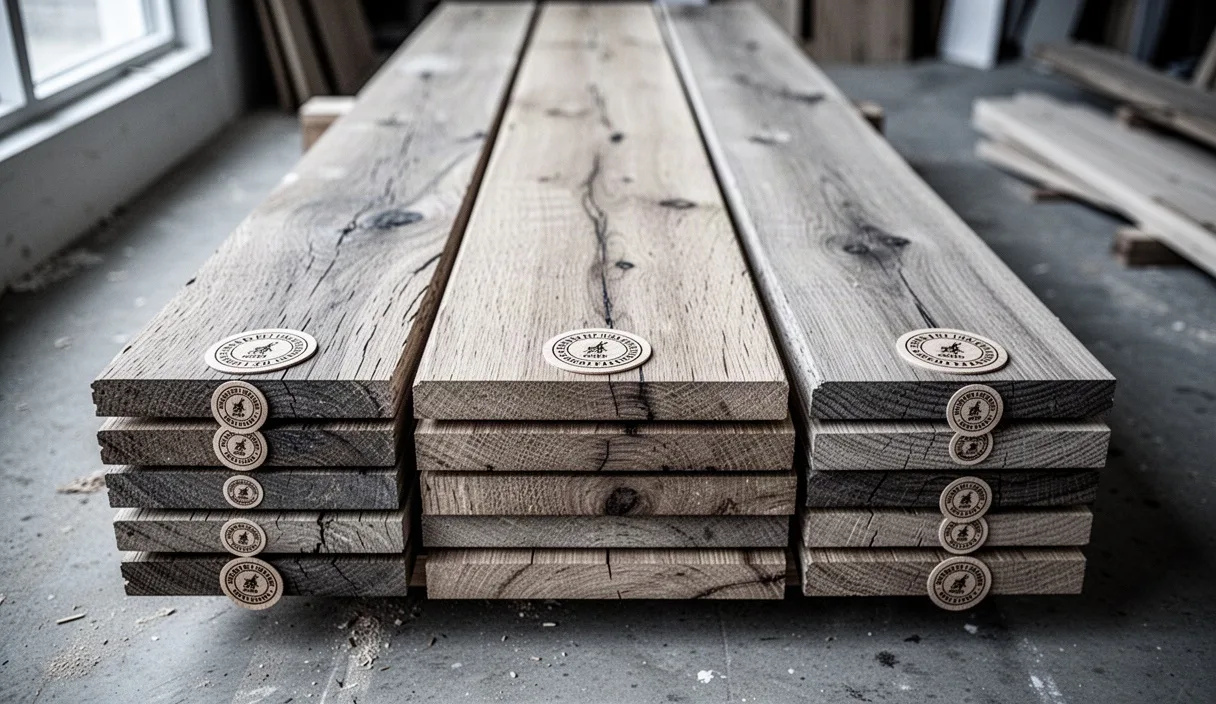
- Stacking boards flat without airflow: Storing boards directly on a concrete floor or stacked face-to-face traps moisture between the layers. Always use dry wooden stickers spaced 16 inches apart between every layer of boards to allow air to reach both sides equally.
Next Steps for Stable Joinery
Now that you know how moisture dictates the movement of lumber, start by assessing your workshop storage. Inspect your lumber racks today. If your stock is stacked flat without air gaps, spend thirty minutes restacking the timber onto stickers that sit at least six inches above the floor. If a board in your current project shows a cup, test it with your moisture meter to confirm whether an internal moisture imbalance exists before you plane it down.
When working on large or complex pieces like dining tables, wide entry doors, or valuable historical restorations, keep in mind that extreme warping with severe grain twist cannot always be solved with workshop moisture techniques alone. In those structural cases, or when timber shows signs of internal ring shake (separation along the growth rings), it is wise to consult a professional timberwright or sawyer. For your standard shop projects, patience, proper moisture management, and balanced finishing will keep your joints tight and your surfaces flat through every season of the year.