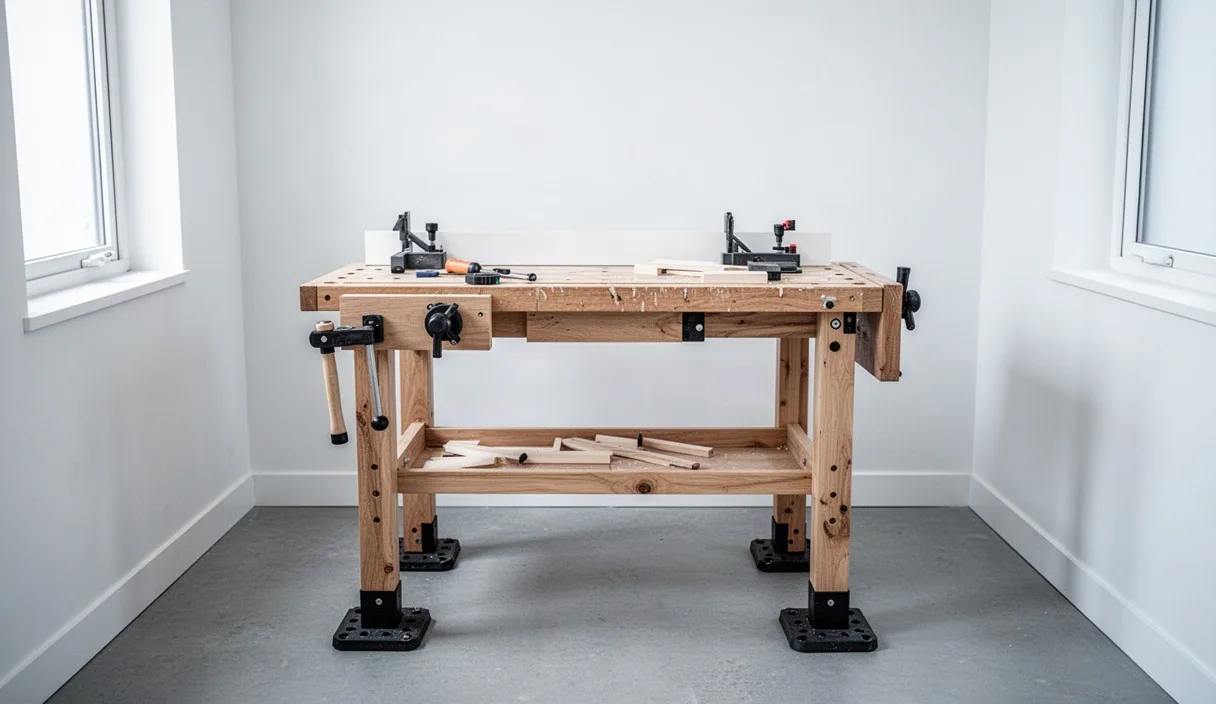

Most woodworkers and fabricators spend hours tuning machine fences, sharpening hand chisels, and flattening bench tops, yet they often work under a single bare bulb or a flickering fluorescent tube screwed into the center of the garage ceiling. Good lighting is not simply a decorative choice. It acts as an active measuring tool that reveals whether a hand-planed surface is flat, whether a joint sits tight, or whether a pencil line has split the knife mark. When light is inadequate, your eyes strain, posture deteriorates as you lean in to see, and mistakes happen long before you notice them.
To build a workspace that protects your eyes and improves your accuracy, you need to manage two distinct physics problems: shadow geometry and spectral quality. Light travels in straight lines from its source, and whenever an opaque object like your torso, a router fence, or your own hand blocks those rays, it creates a dark silhouette across your layout line. At the same time, the light itself carries a specific color spectrum that either highlights or hides the natural grain patterns and finishing flaws in your workpieces. Understanding how to control these variables turns a frustrating work area into a clear, reliable work environment.
Why Single Overhead Lights Cast Disorienting Shadows
Why does a bright shop sometimes feel impossible to work in? The answer usually lies in point sources. A single high-output light fixture hanging from the center of the ceiling acts like the midday sun. It produces an enormous amount of raw light, but because all that light originates from one small location, every tool, finger, and edge casts a hard-edged, deep shadow known as an umbra. When you lean over your bench to guide a dovetail saw, your own forehead and torso cast a dark silhouette directly across the cut mark. Your eyes must then constantly adjust between the bright surrounding room and the dark spot under your hands, causing eye fatigue within thirty or forty minutes.
Contrast ratio is the measurement between the brightest patch on your workbench and the darkest shadow. In a room lit by one central overhead fixture, that contrast ratio can easily exceed thirty to one. Human eyes struggle to resolve detail when forced to bridge that wide of a gap. You might see the reflective steel blade of your marking gauge clearly, while the faint indentation it left in a piece of walnut remains completely invisible in the shadow right next to it.
The solution is diffusion and distributed sources. Instead of relying on one powerful fixture, a bench needs multiple overlapping cones of light. When light arrives from two, three, or four different angles at once, the rays from fixture B enter and soften the shadow cast by fixture A. This creates a soft penumbra, which is a shallow, gentle gradient rather than a pitch-black wall of darkness. Linear light fixtures, such as four-foot or eight-foot continuous LED strips hung directly parallel to the front edge of the bench, distribute the light along an axis instead of concentrating it into a single pinprick.
Spreading your light sources wide transforms your ability to gauge depth. Think of an overcast day: clouds scatter sunlight across the entire sky dome, eliminating sharp shadows under trees and cars. By spreading long, diffused LED channels across your ceiling, you turn your shop ceiling into a controlled overcast sky, keeping your layout lines visible even when you lean over your work.
Color Rendering Index: Spotting Subtle Grain Lines
Have you ever matched two boards under shop lights, applied an oil finish, and then walked into the living room only to discover one board is green-gray while the other is amber? That mistake happens because of a poor Color Rendering Index, commonly abbreviated as CRI. CRI is a scale from 0 to 100 that measures how accurately an artificial light source reveals the true colors of an object compared to natural daylight or an incandescent filament. Standard residential shop lights often register around 75 to 80 CRI, which sounds decent on the box, but leaves out critical bands of the color spectrum.
The missing component in cheap LEDs is almost always the R9 value, which represents deep, saturated reds. Standard CRI tests average the scores of eight pastel test colors (R1 through R8). An LED manufacturer can score an 82 CRI while having an R9 score near zero. Because wood species such as cherry, mahogany, red oak, and walnut rely heavily on warm red and brown pigments, a light with low red output makes these woods appear lifeless, flat, and muddy. It also blinds you to subtle variations in grain direction, tearout, and water stains.
| CRI Rating Band | R9 Red Performance | Woodworking and Finishing Impact |
|---|---|---|
| 70 to 79 CRI | Negative to 10 | Washes out warm grain; cherry looks grayish; stain mismatches go unnoticed. |
| 80 to 89 CRI | 10 to 45 | Acceptable for rough milling and dimensioning; subtle grain transitions remain difficult to spot. |
| 90 to 98 CRI | 50 to 92 | Full color fidelity; highlights natural chatoyancy, curl, and glue squeeze-out clearly. |
When you select fixtures for your primary bench, check the manufacturer specification sheet for a CRI of 92 or higher, along with an explicit R9 rating above 50. High-fidelity light makes glue residue shine like a neon beacon against bare wood fibers before you apply stain, saving you from discovering dried squeeze-out after topcoats are already curing.
Color Temperature: Warmer versus Cooler Shop Lumens
Color temperature describes the warm or cool appearance of light and is measured in Kelvins, abbreviated as K. This has nothing to do with the physical heat the fixture produces. Instead, it references the color a black metal object would glow if it were heated to that temperature. A camp lantern glows with a warm, reddish-orange flame around 2200K, standard living room table lamps sit around 2700K, and blue-white midday sky light reaches upward of 6500K.
In a workshop, choosing the correct Kelvin band is a balance between visual alertness and color accuracy:
- 2700K to 3000K (Warm White): This range feels cozy and restful, making it great for living areas, but it casts a yellow tint across your bench. That tint skews your perception of blonde timbers such as maple, ash, and birch, and it can lull your brain into relaxation rather than focused attention.
- 4000K (Neutral White): This is the benchmark temperature for most craftspeople. It provides clean, crisp white light without any noticeable blue cast. It mimics mid-morning sunlight, accurately renders both warm and cool finishes, and keeps eye fatigue low across an eight-hour build.
- 5000K (Daylight White): At 5000K, light takes on a noticeably cooler, brisk tone. This temperature boosts visual sharpness and makes black knife lines jump off pale wood surfaces. It works exceptionally well over metalworking benches, carving stations, and sharpening stones.
- 6000K and above (Cool Blue): Extremely cool fixtures introduce heavy blue spectrum energy. Over time, heavy blue lighting creates harsh contrast and has been shown to induce headaches and glare on polished steel plane soles and cast-iron tool beds.
For most shops, 4000K to 4500K provides the safest middle ground. It gives you the high contrast needed to see layout pencil lines on dark wood without the sterile, blinding glare that comes from ultra-cool industrial tubes.
Positioning Secondary Task Lights to Eliminate Glare
Ambient overhead lights set the baseline illumination for the room, but secondary task lights provide the focused, steerable beams needed for delicate hand work. However, placing a bright light in the wrong spot creates specular glare, which happens when light bounces straight off a smooth surface, like a waxed cast-iron table or a polished chisel face, and shoots directly into your eyes. Remember the fundamental law of reflection: the angle of incidence equals the angle of reflection. If a light hangs directly in front of you and angles down at forty-five degrees, its glare bounces straight into your pupils at that same angle.
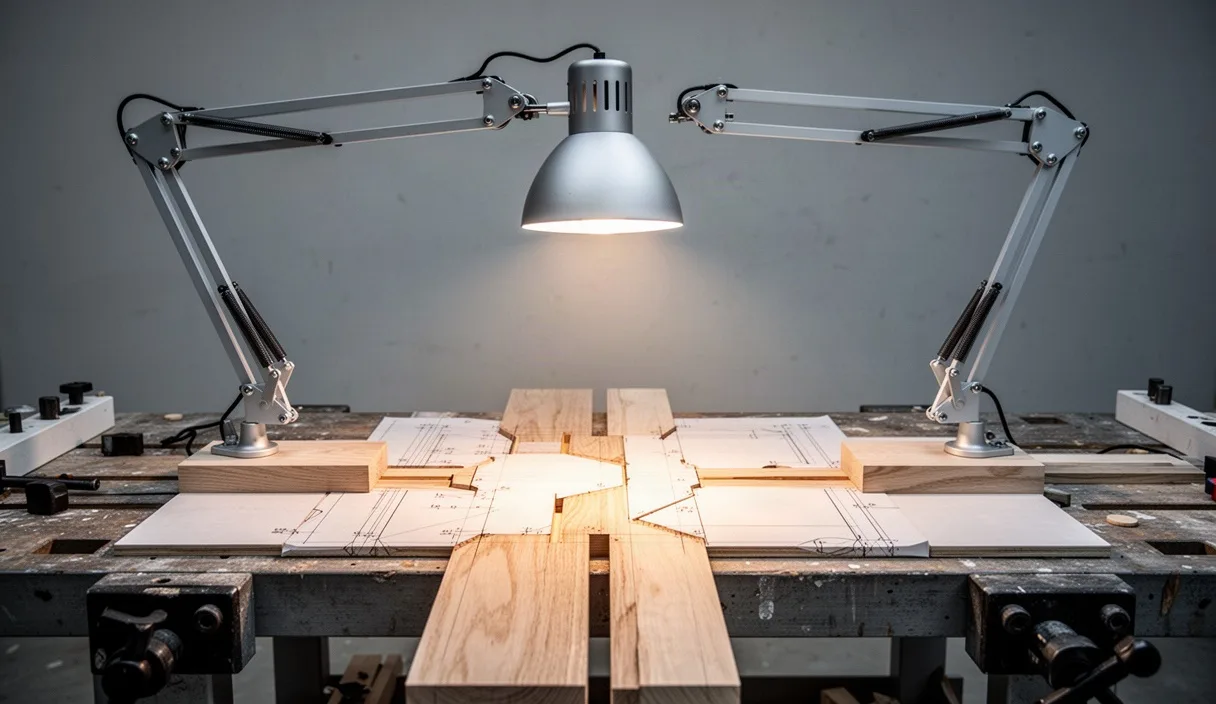
To avoid blinding glare, mount task fixtures slightly behind your head or directly above your shoulder line, shining forward and down onto the cutting path. Alternatively, use cross-illumination. Place two low-wattage, adjustable swing-arm lamps on opposite ends of your workbench, positioned so their beams intersect at the center of the work surface at a shallow thirty-degree angle. This side-raking light reveals texture and surface flatness with incredible clarity.
Setting Up Raking Light for Hand Planing
- Clamp an adjustable task light to the rear-left corner of the bench top, assuming you plane from right to left.
- Lower the light head so it sits only four to six inches above the surface of your workpiece.
- Angle the lens horizontally across the board face rather than pointing it downward.
- Turn off or dim the overhead fixture directly above the bench.
- Sight down the board: high spots and ridges will catch the light, while low hollows cast long, unmistakable shadows behind them.
For bench surfaces deeper than thirty inches, a single linear strip along the front lip works wonders. Mount a compact, shielded LED extrusion along the front edge of a bench shelf or tool well, angled slightly back toward the wall. Because the light source is physically lower than your eye height and pointed away from you, it floods the vertical edges of your work with zero direct glare reaching your retinas.
Wiring and Switch Placement for Bench Convenience
A lighting layout that requires you to walk across a dark shop or reach behind a running bandsaw to flip a switch will rarely be used correctly. Switching should be zoned according to how you work. You need a general entryway switch for ambient navigation, an isolated switch bank at the bench for overhead fixtures, and dedicated controls for individual task lamps.
Split your workbench lighting into two separate switches mounted directly to the bench frame or on the wall immediately within reach of your primary stance:
- Ambient Bank Switch: Controls the diffused ceiling fixtures directly centered above the work zone. Wire this switch so it operates independently of the rest of the shop bay lights, allowing you to focus on the bench without burning energy across empty storage areas.
- Task Light Switch: Controls the focused, raking, or swing-arm fixtures. Having task lights on their own circuit allows you to kill overhead glare quickly when inspecting surfaces with side-angled light.
When running power to your bench, consider installing a master shutoff switch on an industrial red emergency paddle. Routing your task lights, benchtop power strips, and dust extractor outlets through a single contactor or heavy-duty switch lets you kill power to all stationary bench tools and auxiliary lights in a single motion when leaving the shop for the night. Keep in mind that electrical codes vary by region. If you are extending circuits from your service panel, adding dedicated twenty-amp breakers, or running conduit through walls, hire a licensed electrician to ensure your wiring meets local safety regulations and does not create a fire hazard.
Common Mistakes
Many builders attempt to fix dark workbenches simply by buying the brightest light bulb on the shelf. This rarely solves the problem. Keep an eye out for these frequent setup errors:
- Chasing Raw Lumens Over Diffusion: Installing a 10,000-lumen open bulb over a bench creates intense glare spots on tool surfaces and pitch-black shadows everywhere else. Two diffused fixtures delivering 3,500 lumens each provide far better visibility than one harsh 10,000-lumen fixture.
- Mixing Kelvin Temperatures in the Same Zone: Running a 3000K incandescent desk lamp alongside a 6500K ceiling tube confuses your eyes. The brain attempts to white-balance between the two sources, resulting in visual fatigue and inaccurate color perception. Pick a uniform temperature, such as 4000K, across the entire workstation.
- Mounting Lights Behind the Worker: Hanging a fixture two feet behind the bench line means your body casts a permanent shadow over the entire depth of the worktop. Ceilings lights should be aligned flush with, or slightly ahead of, the front edge of the bench.
- Ignoring Stroboscopic Effects: Low-quality LED drivers pulse current at rapid frequencies. While this flicker may be invisible to the naked eye, it can match the rotational speed of saw blades, drill presses, or lathe chucks, making spinning tools appear stationary or slow-moving. Choose fixtures rated as flicker-free to maintain machine safety.
Practical Next Steps
Do not feel pressured to tear out your entire electrical system in an afternoon. You can audit and improve your bench lighting methodically over a few weekends.
Start by auditing your current bench setup. Turn on your existing shop lights and place a small marking gauge, a hand plane, and a scrap block of wood on your bench. Lean forward into your normal working stance. If your hands or torso cast a distinct, dark silhouette over your layout line, your lights are located too far back or lack cross-angled support.
Next, check the labels on your light bulbs or fixtures. Identify their Kelvin rating and CRI. If you find mismatched color temperatures, such as a cool tube on the left and an amber incandescent on the right, replace them with matched 4000K tubes that carry a CRI rating of 90 or higher.
Finally, add one adjustable task light mounted to the edge of the bench. A simple architect-style swing arm or magnetic-base LED goose-neck light gives you immediate control over raking shadows, letting you diagnose tearout, inspect chisel bevels, and follow cut lines with total visual clarity.